Hardware unboxing
Check out our wiring video:
If you prefer to read, here are the steps to wire an O3R platform. You need the following hardware from ifm:
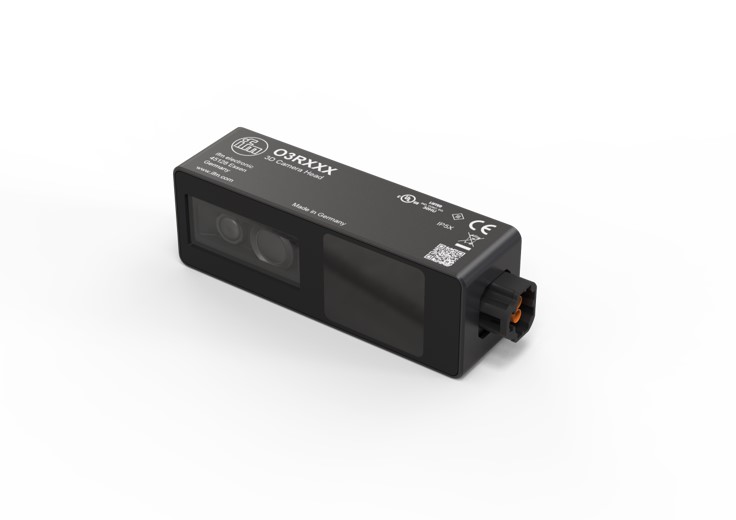
One or several camera heads (O3R222 or O3R225 for example),
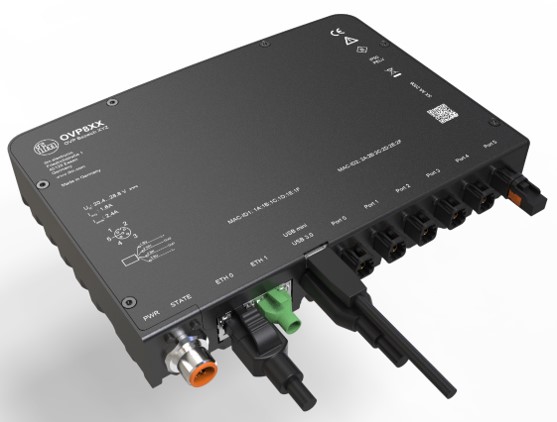
An OVP8xx (for example the OVP810),
One FAKRA cable for each camera head.
You also need:
A reliable power supply capable of providing at least 24 V / 3.5 A
An Ethernet cable rated for 1 Gbit/s (Gigabit) communication.
Then, follow the instructions below:
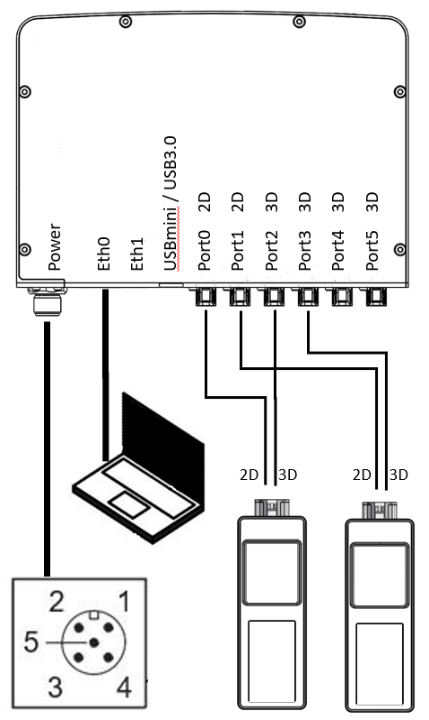
First, connect the heads to the VPU; the only requirement is to connect pairs of same imager types together, for instance as shown below:
Some example scenarios
Connection |
Port 0 |
Port 1 |
Port 2 |
Port 3 |
Port 4 |
Port 5 |
|---|---|---|---|---|---|---|
example 1 |
camera 1 (3D) |
camera 2 (3D) |
camera 1 (2D) |
camera 2 (2D) |
camera 3 (3D) |
camera 4 (3D) |
example 2 |
camera 1 (2D) |
camera 2 (2D) |
camera 1 (3D) |
camera 2 (3D) |
camera 3 (2D) |
camera 4 (2D) |
example 3 |
camera 1 (3D) |
camera 2 (3D) |
camera 3 (3D) |
camera 4 (3D) |
camera 5 (3D) |
camera 6 (3D) |
example 4 |
camera 1 (3D-VGA) |
camera 2 (3D-VGA) |
camera 3 (3D) |
camera 4 (3D) |
- |
- |
example 5 |
camera 1 (3D-VGA) |
camera 2 (3D-VGA) |
camera 3 (3D-VGA) |
camera 4 (3D-VGA) |
- |
- |
Note
Please note that 38k(O3R222 / O3R225) and VGA(O3R252) are different 3D image sensor types and should not be connected to same port pair.
Connect power to the VPU, the pins are defined as follows:
1 screen
2 24 V
3 GND
4 CAN +
5 CAN -
Connect the Ethernet cable,
Once all the connected cameras LEDs are green, the VPU is properly booted up.
That’s it!